What is Collage?
Collage is both a technique and an art form in which different materials (such as paper, photographs, magazine clippings, stickers, etc.) are attached to a flat surface to create a new piece of art. The word itself comes from the French word coller, meaning “to glue” or “to stick.”
Collaging does not require any advanced artistic skills or abilities. All you need to do is choose, cut, arrange, and attach different materials to create something new and unique.
It’s a fun way to create visual art pieces because it doesn’t need to be perfect!
Is Collaging the Same as Junk Journaling?
No, not exactly. Though they are similar (and can definitely overlap), they are slightly different practices. Collaging is a common technique used in a junk journal. If you want to learn more about junk journaling, check out my other post.
With junk journaling, your goal is to use recycled, repurposed, or found materials (like ticket stubs, receipts, envelopes, etc.) to create a new visual spread. The focus is less on the visual art and more on using the recycled materials in unique ways.
Collaging uses a slightly different approach. Instead of only using recycled materials, collaging can also incorporate other materials like paper, photos, fabric, magazine clippings, or stickers, attaching them to a flat surface to create a single visual composition. The focus is more on creating a new piece of visual art.
Should I Junk Journal or Collage?
Both! I even keep them in the same journal.
For some spreads, I use my journal as more of a junk journal. I will use recycled materials that I gather throughout my day, like concert ticket stubs, dinner receipts, Polaroids, etc. My goal with these spreads is to capture little snapshots of my life by using these recycled materials.
On the collaging pages of my journal, I am much more intentional about choosing the paper, photos, magazine clippings, stickers, and other materials. These pages are more design-heavy, focusing on a specific color, theme, or overall vibe.
In this post, I am focusing on collaging.
What You Need To Get Started with Collaging
Let me start by saying that you don’t NEED all of these supplies to start collaging! You can start with the bare minimum: some paper, scissors, and glue.
However, these are some of my favorite supplies that make collaging even more fun for me.
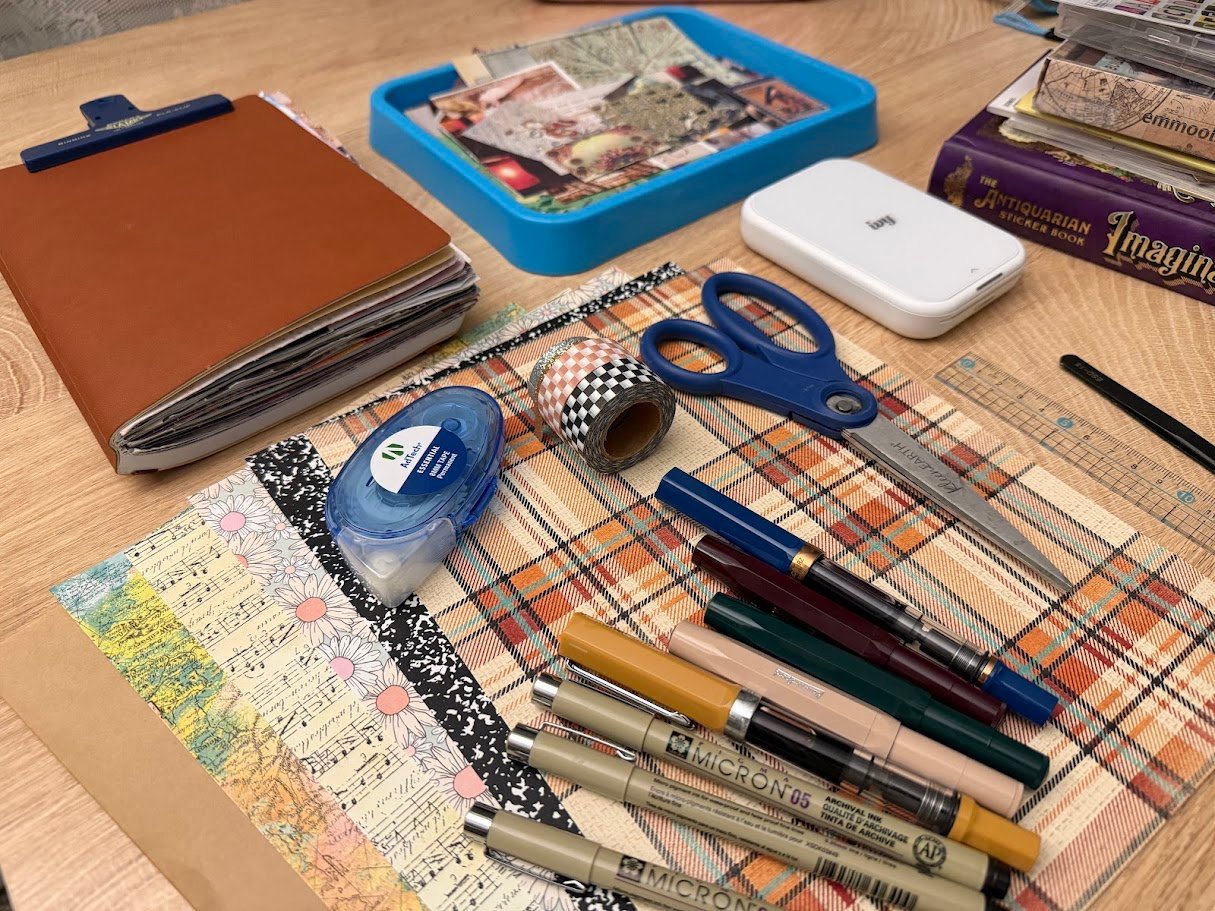
My Favorite Collaging Supplies
- Paper or cardstock
- Glue Tape
- Scissors
- Fountain pens
- (Colorful) archival pens
- Photo printer (and paper!)
- Washi tape (I use these washi stickers all the time!)
- Magazine clippings
- Stickers (I want these!)
- Ruler
- Tweezers
- Journal
Step-by-Step Collaging Walkthrough
Pick a Theme (or Don’t)
You can start with an idea in mind (like a mood, a color, or a theme), or you can just jump right in and see what speaks to you. Generally, I like to start with no expectations and let my creativity lead the way. I’ve found that some of my favorite spreads are created this way!
Gather Your Materials
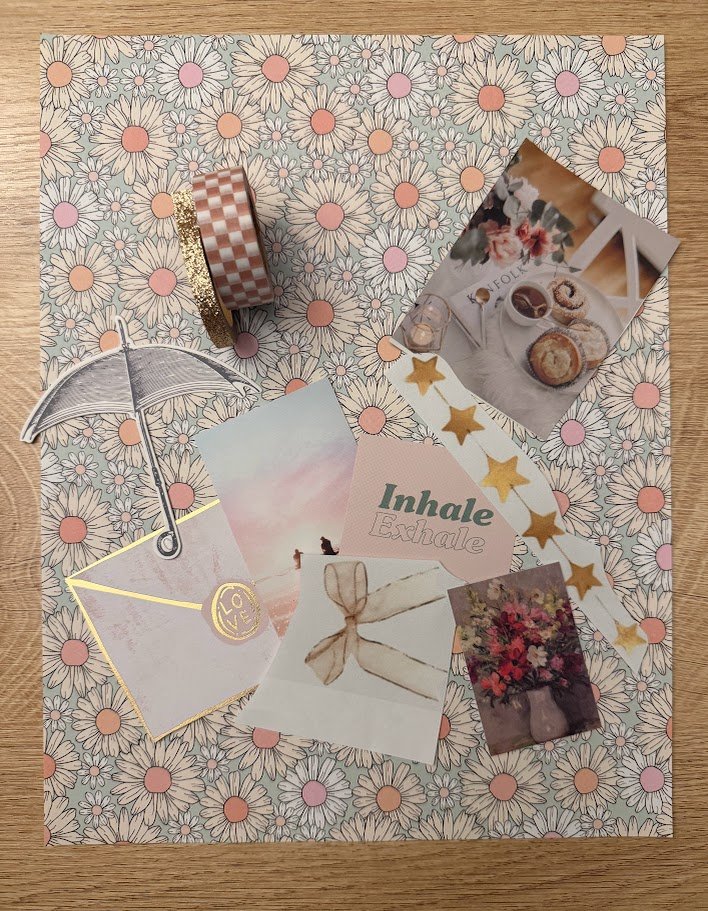
Gather the supplies you need before you start. I choose the paper for my base layer first. Then, I look through my collection of magazine clippings (I add magazine clippings and photos to my collection all the time!). I like to see what I have already cut out. If I can’t find exactly what I’m looking for, then I will flip through some old magazines and cut out more images.
Next, based on the images and magazine clippings, I will choose stickers and washi tape to match the vibe.
Attach Your Base Layer
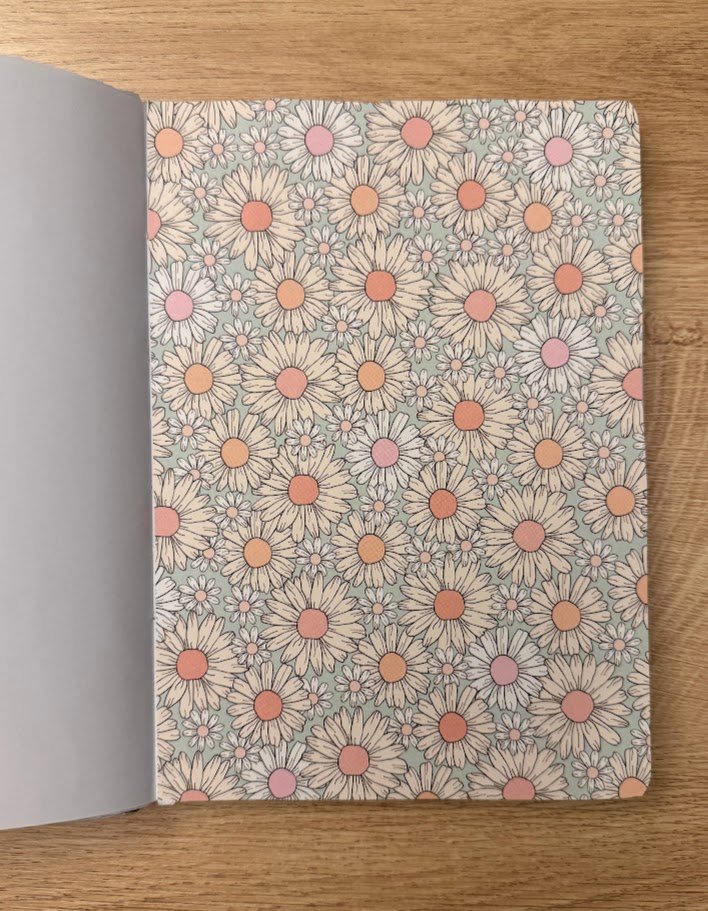
As I said, I like to collage in a journal, so I start by attaching my paper base layer using glue tape. This background provides a nice canvas for layering. That way, if there is a gap between any pieces, I already have a pretty background peeking through. Then, I trim the edges of the paper to fit.
Start Layering
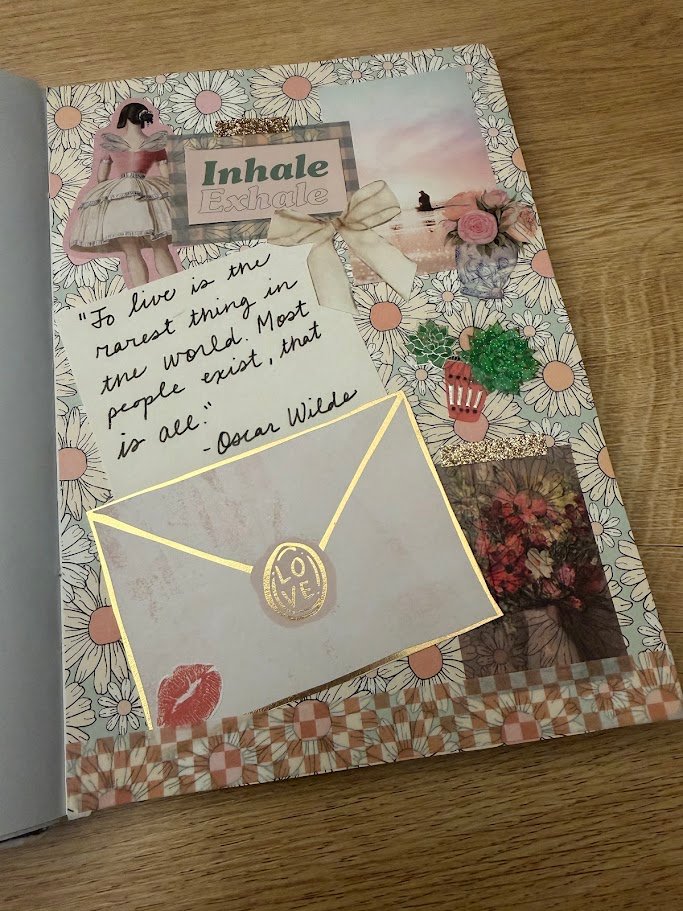
This is the fun part! Start layering and attaching your pieces to your paper base layer. There is no wrong way to do this! I generally start with the biggest pieces first, making sure that I have a strong focal point for the piece. I will continue adding other images, stickers, and washi tape on top.
Examples
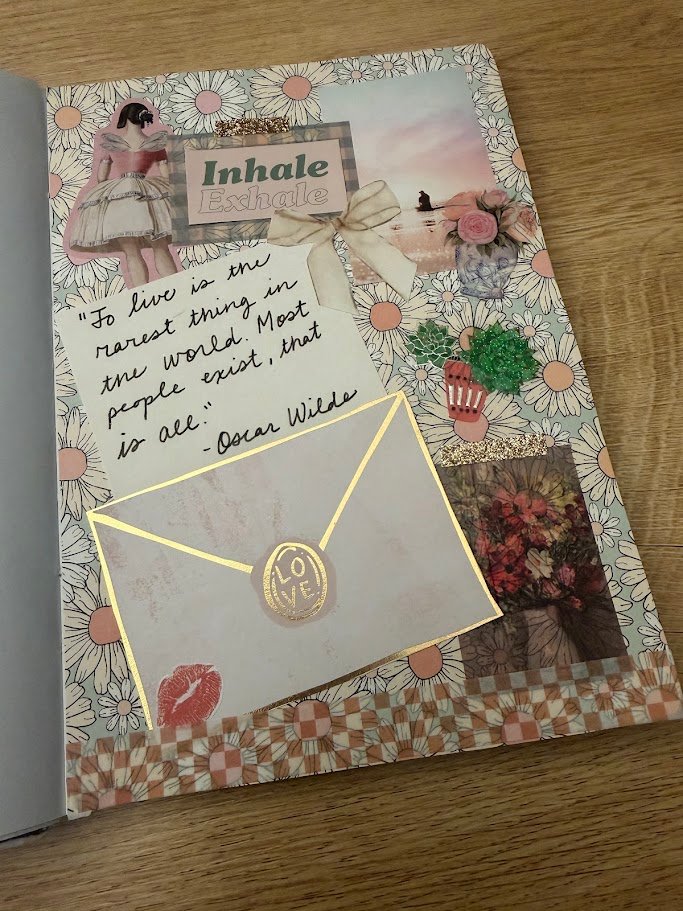
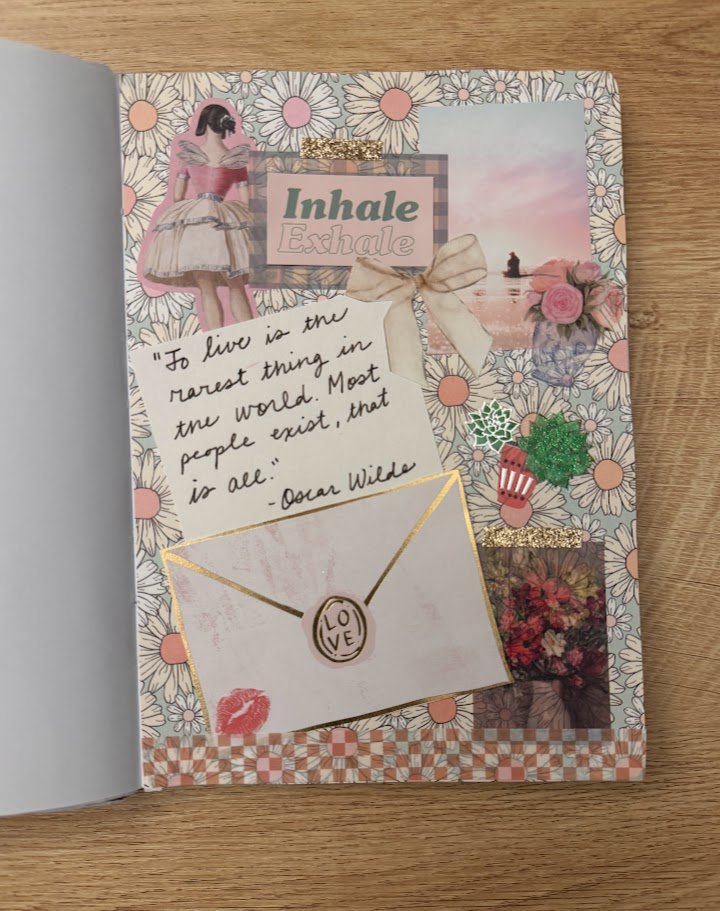
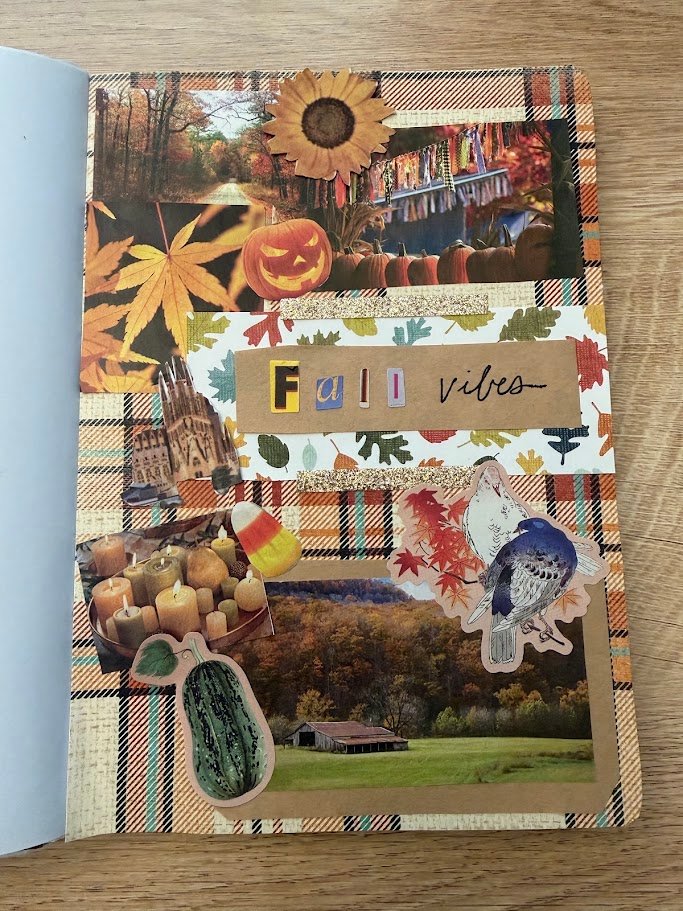
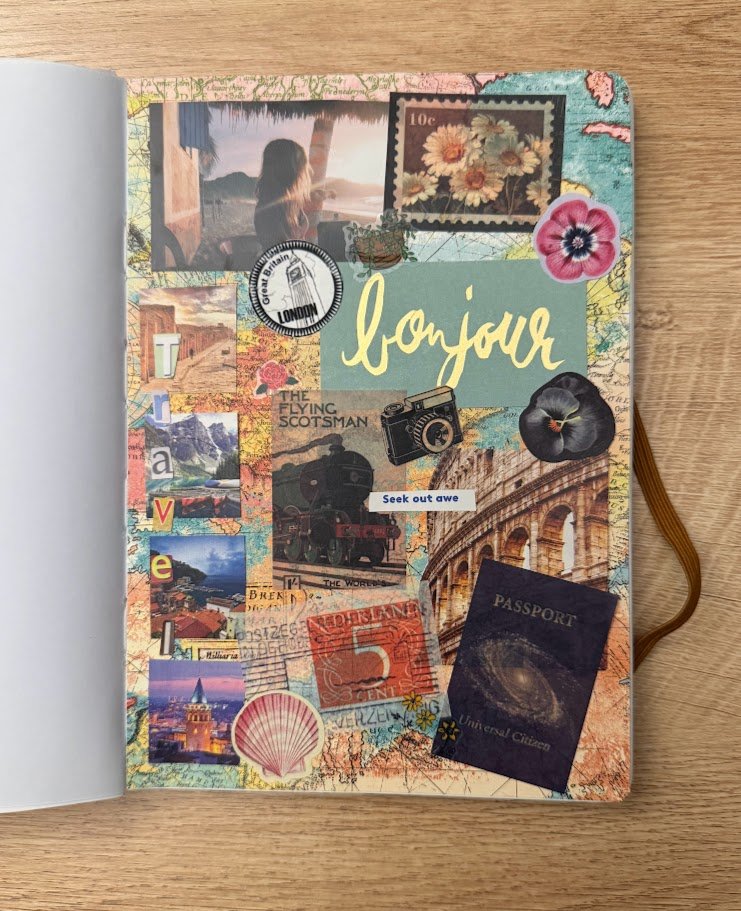
Here are some examples of spreads that I’ve done recently. Some feature more color-driven designs while others are more thematic in their composition. I like mixing up my approach.
Tips
#1–Keep a Clippings Tray/Bag/Etc.
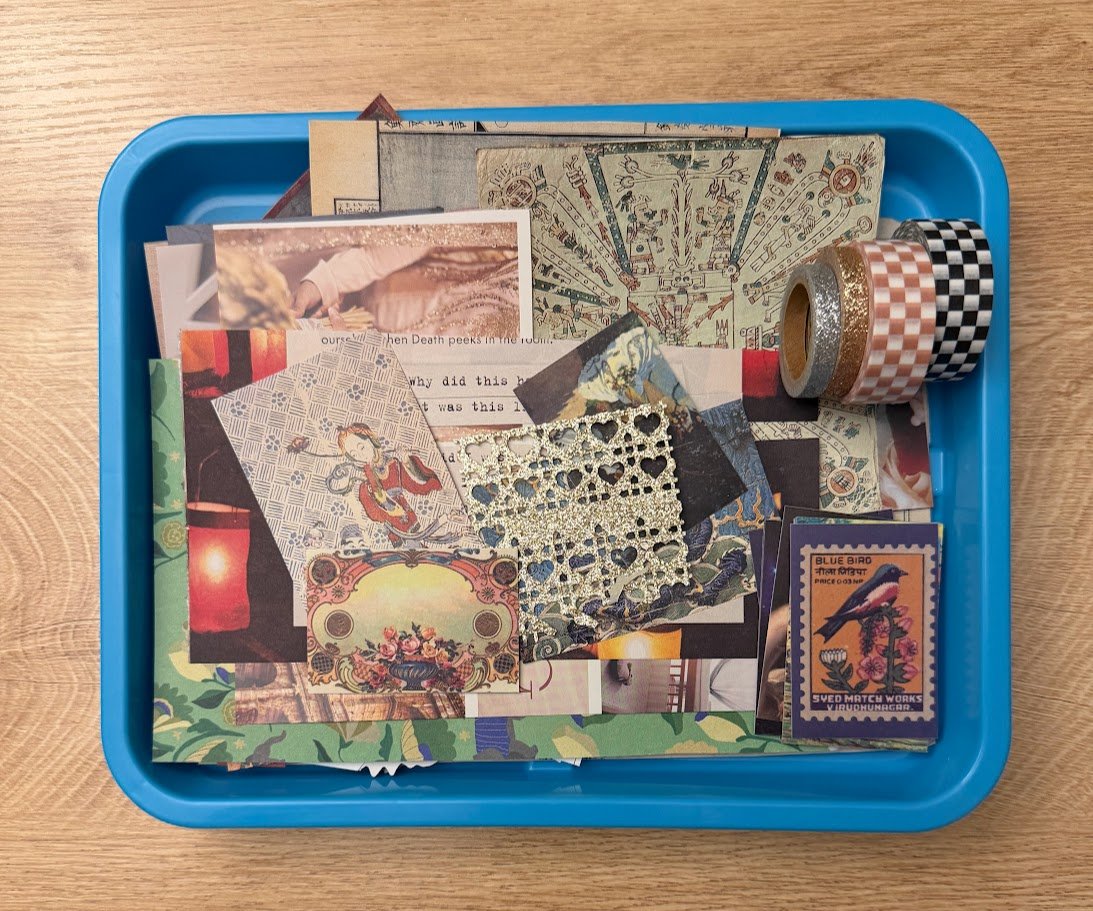
Having magazine clippings ready to go saves so much time! I like to add to my tray any time I find something that I think I might want to collage with later. That way, when I start, I don’t have to spend tons of time looking for things that I like.
#2–Use Different Sources for Materials
You don’t want every element of your collage to be from the same magazine or book. Using a variety of sources (magazines, old books, handwritten notes, etc.) makes your designs much more interesting.
#3–Experiment with Tearing
Try tearing paper by hand in addition to cutting. It will give your paper a completely different, more natural vibe.
#4–Mix Different Textures
Add visual interest by combining different textures like matte, transparent, glossy, or textured. This adds depth to your piece.
#5–Stop Before It Feels Overdone
Knowing when to stop can sometimes be difficult for me, but I have learned that less can sometimes be more. Don’t try to add too many elements, or it can end up looking chaotic or messy.
Final Thoughts
Collaging is the perfect hobby for a cozy afternoon because it doesn’t require any advanced artistic skills or expensive materials to get started. So grab some paper and scissors and get started making something beautiful!
Interested in Other Types of Journaling?
- The Ultimate Beginner’s Guide to Commonplace Books
- 36 Commonplace Book Ideas & Deep Dive Topics to Journal About
- 20 Reading Journal Prompts for Any Novel
- My Journal Ecosystem: How I Use Multiple Journals to Organize My Life
- How to Start a Junk Journal: A Beginner’s Guide
- 50 Journaling Prompts for Self-Discovery and Slow Living
- How to Start Journaling When You Don’t Know What to Write